


TinkerCAD step-by-step instructions for 3 different whistles
- Grades
- Grades 5–12, High School, Middle School, Elementary
- File type
- Preparation
- Print ready


- Subject
- Creative Arts, Art, STEM, Technology, Engineering
- Topic
- 3D printing, STEM
- Resource types
- Activities, Projects
- Preparation
- Print ready
About this resource
What's inside this resource
Students only need to know the bare basics to complete this.
I tested this with a fifth-grade class and most could complete it with no help.
Designed to print with no supports for easy printing.
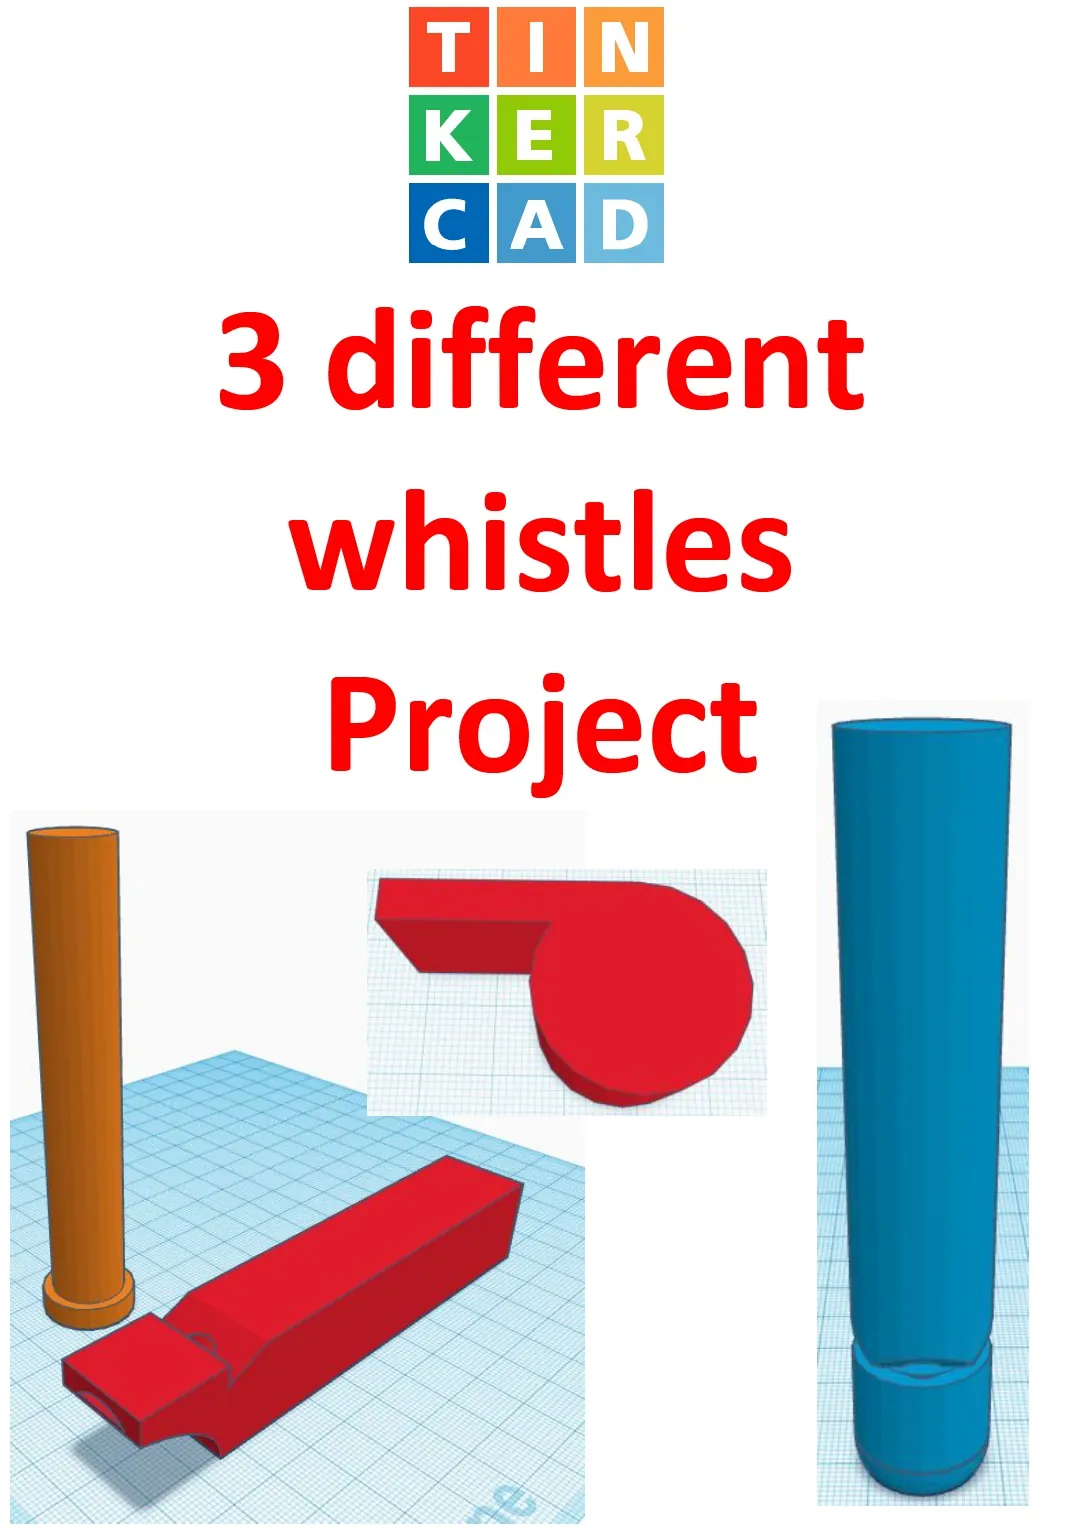
PDF file with TinkerCAD step-by-step instructions for 3 different whistles with 32 pages.
I have used this instructions with students as young as 5th grade and as high as 12th grade.
The 5th graders needed some help and guidance but middle schoolers and high school students usually did not need any help at all.
5th and 6th grade classes took about 2 hours to finish the project. Middle schoolers took about 1 hour, and high school students took about 30-40 minutes to finish.
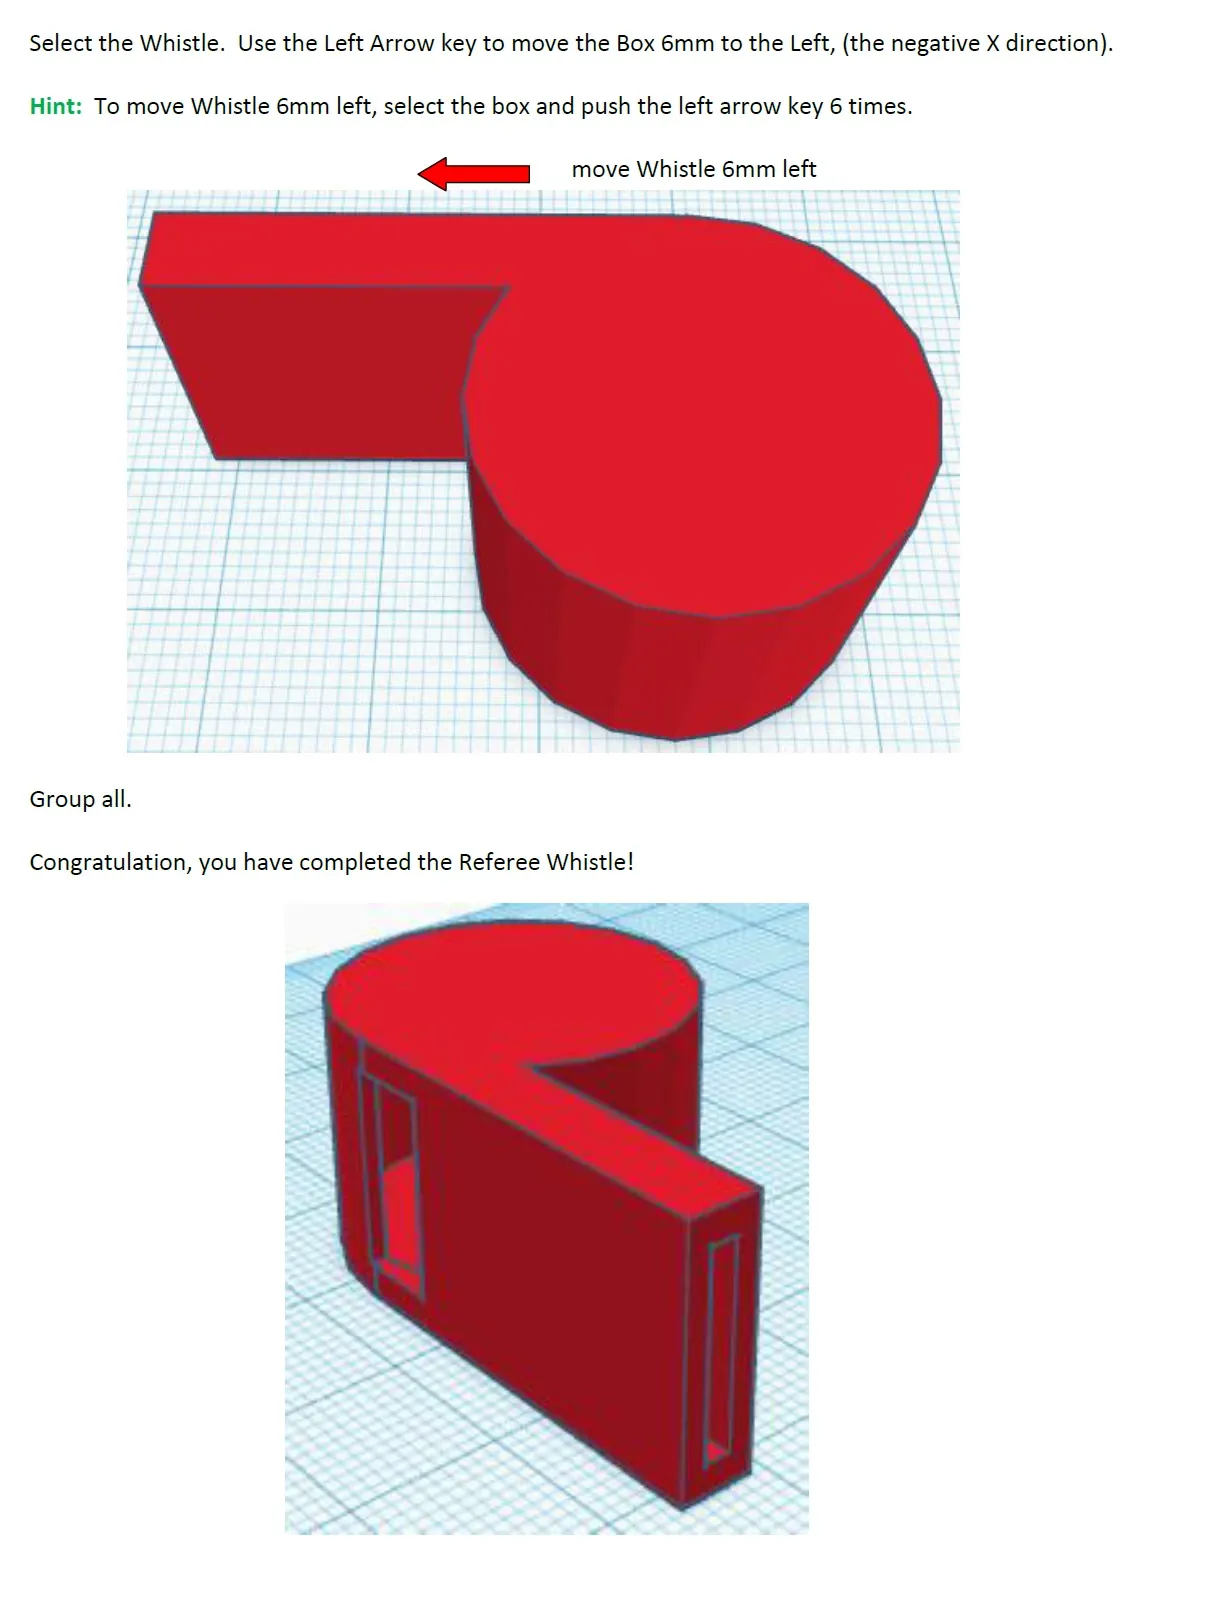
The referee whistle works like a regular whistle.
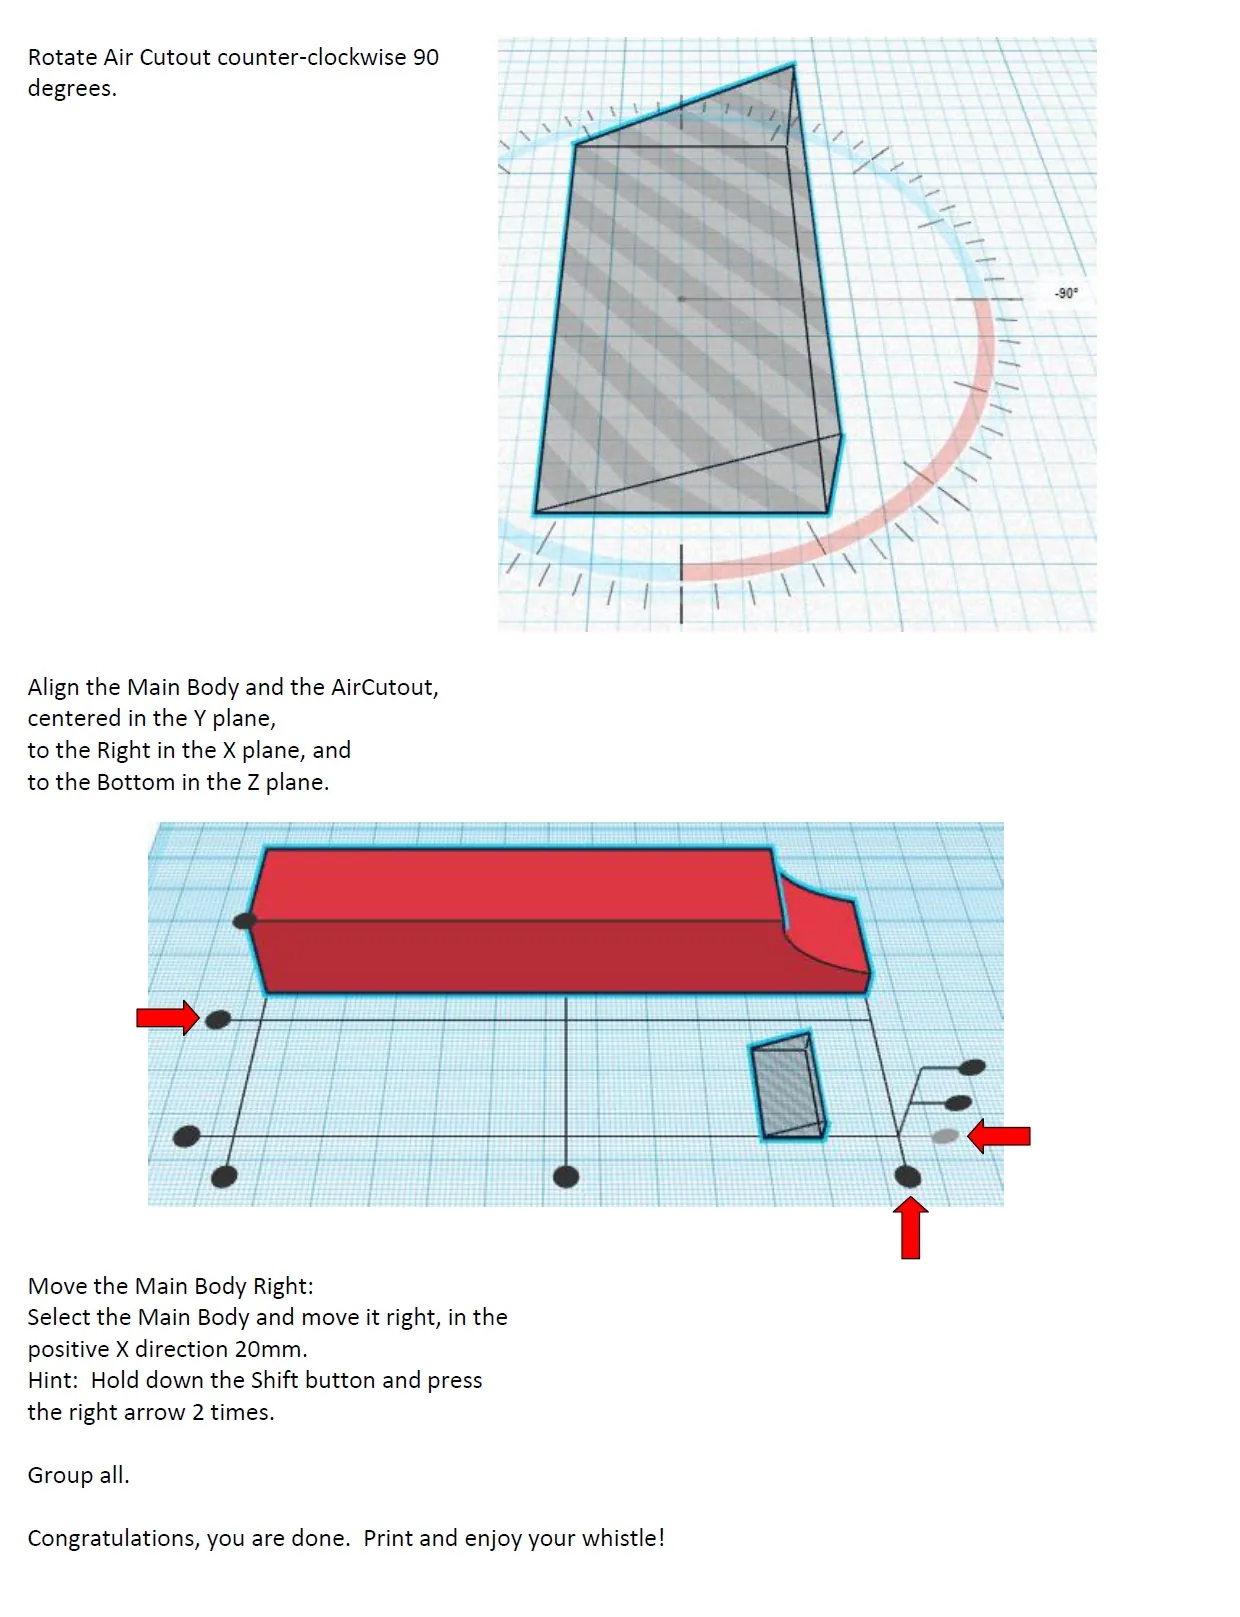
The slide whistle works and make different sounds be sliding the insert back and forth to make different pitches.
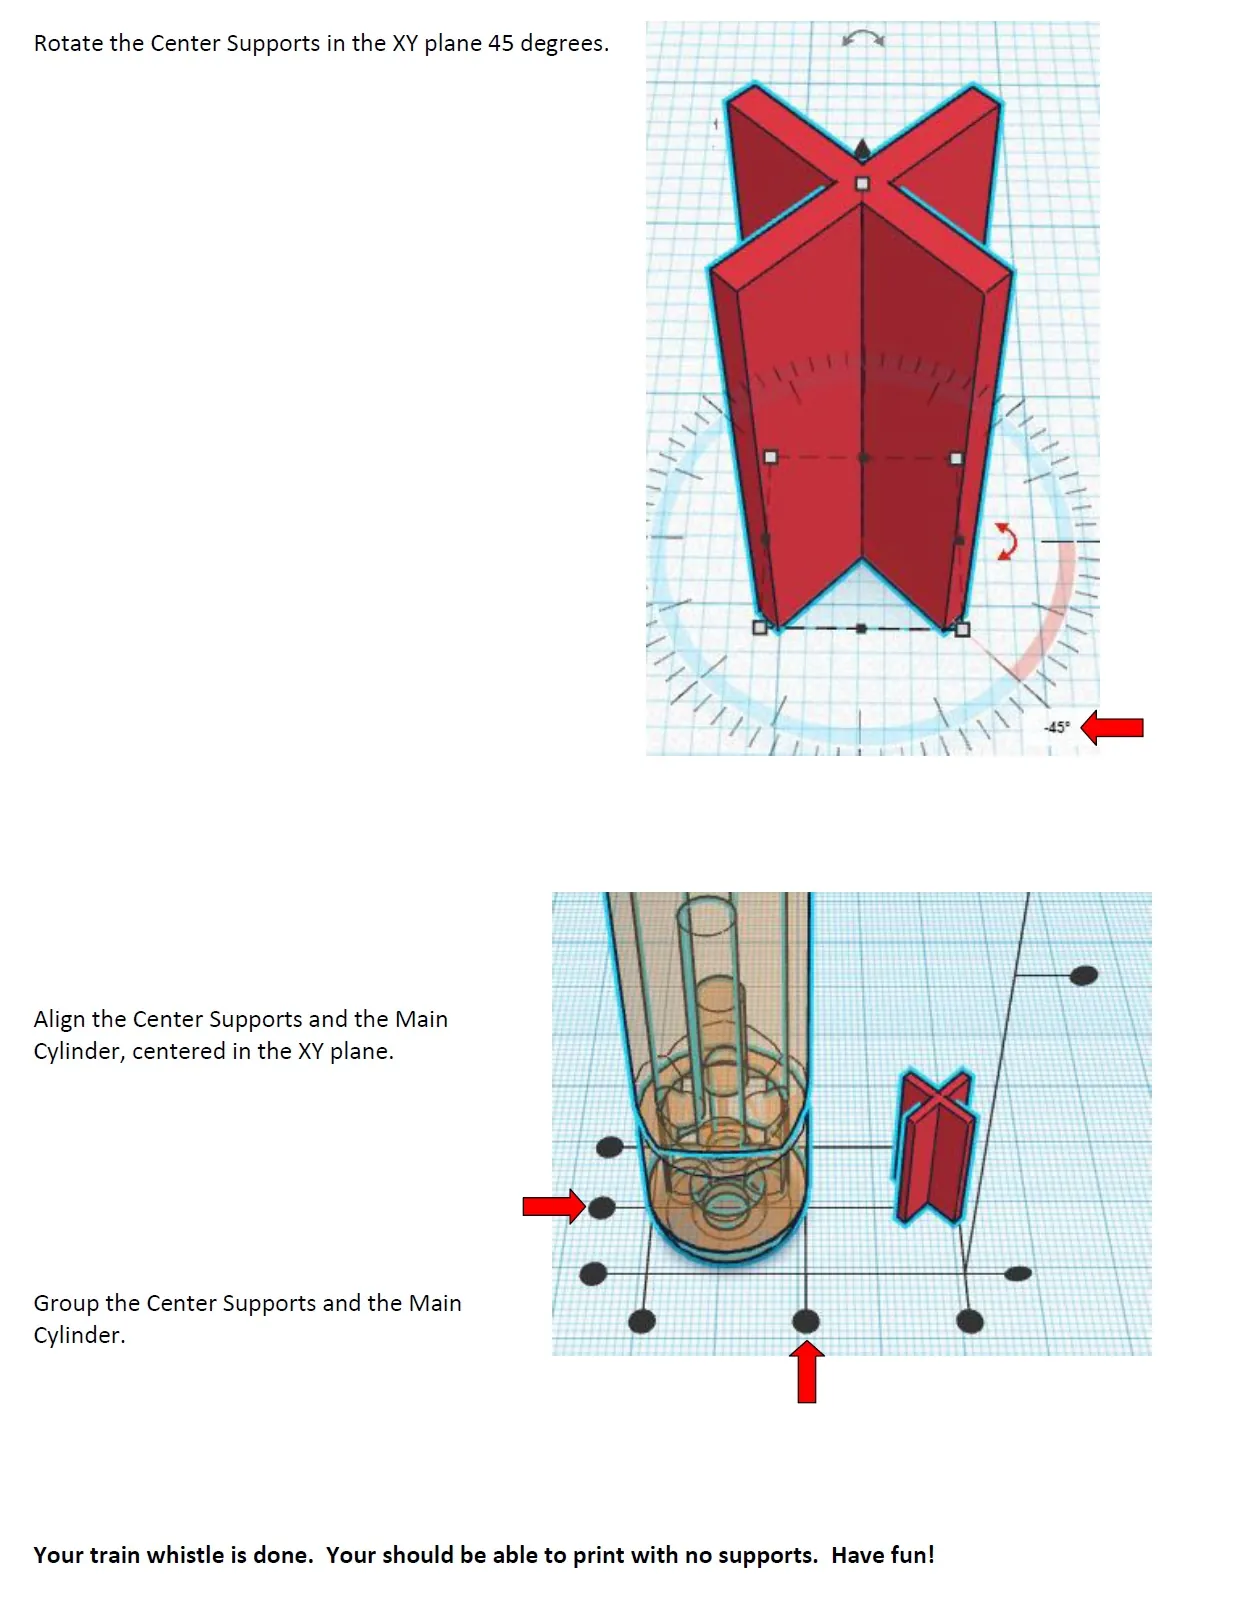
The train whistle works by having different lengths of hollowed out tubes which generate different pitches.
Very detailed instructions.
Students are expected to be familiar with TinkerCAD, and know the basics.
There is a TinkerCAD tool guide within the instructions to aid in learning TinkerCAD.
See other products related to this: https://teachsimple.com/product/tinkercad-step-by-step-instructions-for-among-us-character
Related resources
More resources teachers may find useful
24 related resources were found using this product's title, contributor, categories and tags.


In the classroom
Teaching tips & learning objectives

Learning objectives
Use Tinkercad's align, move, rotate, and mirror tools to position 3D shapes precisely relative to one another.
Convert basic solid shapes into 'hole' objects and group them with solids to hollow out or cut a 3D model.
Follow multi-step numeric dimensioning instructions (in millimeters) to reproduce a specific 3D design.

Teaching tips
Have students complete the Tinkercad tool reference pages first if they are not already comfortable with align, move, rotate, and mirror actions, since every project step assumes familiarity with these tools.
Assign all three whistles to advanced classes but consider assigning just one or two to younger students, since the contributor reports 5th-6th graders take about 2 hours to finish while high schoolers finish in 30-40 minutes.
Confirm each model prints with no supports before sending a full class set to a 3D printer, since the designs are specifically built to avoid needing them.

Skills covered
3D CAD modeling — students build three complete models using Tinkercad's basic shape, align, move, rotate, and group tools.
Precision dimensioning — students enter specific millimeter measurements at each step to reproduce an exact design (e.g. changing a cylinder to 24mm, or hollowing a box to 29mm x 2mm x 14mm).
Boolean solid/hole modeling — students convert shapes into 'holes' and group them with solids to cut cavities, a core CAD technique used in all three whistle builds.
Good to know
Questions teachers ask about this resource
What makes the three whistle designs physically different from each other?
The referee whistle uses a hollowed cylinder combined with a rectangular block and a cut hole to work like a standard whistle; the train whistle uses three different-length hollow tubes attached to a main cylinder to generate different pitches; and the slide whistle uses a sliding plunger that changes pitch as it moves in and out of a hollowed body.
What Tinkercad skill does the reference guide at the start of the file cover?
The first two pages explain how to align objects along the X, Y, and Z planes, flip or mirror a shape, move a shape in a given direction, and rotate a shape clockwise or counter-clockwise in the XY, YZ, and XZ planes.

No reviews yet
Downloaded this resource? Tell other teachers how it went.
Resource details
Concepts & topics
Core concepts
 Core concepts
3D CAD design
Tinkercad
3D printing
Boolean modeling (solid/hole)
Design and pitch
Topics
 Topics
Explore more
Categories this resource belongs to
Explore related searches
More to explore
You may also like