


Bulletin Board : Haunted Mansion Halloween Classroom Theme
- Grades
- Not Grade Specific
- Pages
- 127
- File type
- Multiple File Types
- Editable
- Yes


- Subject
- Halloween
- Topic
- Haunted mansion, Halloween bulletin board
- Resource types
- Classroom Decor, Bulletin Boards, Door Decor
- Editable
- Yes
Product description
From the author
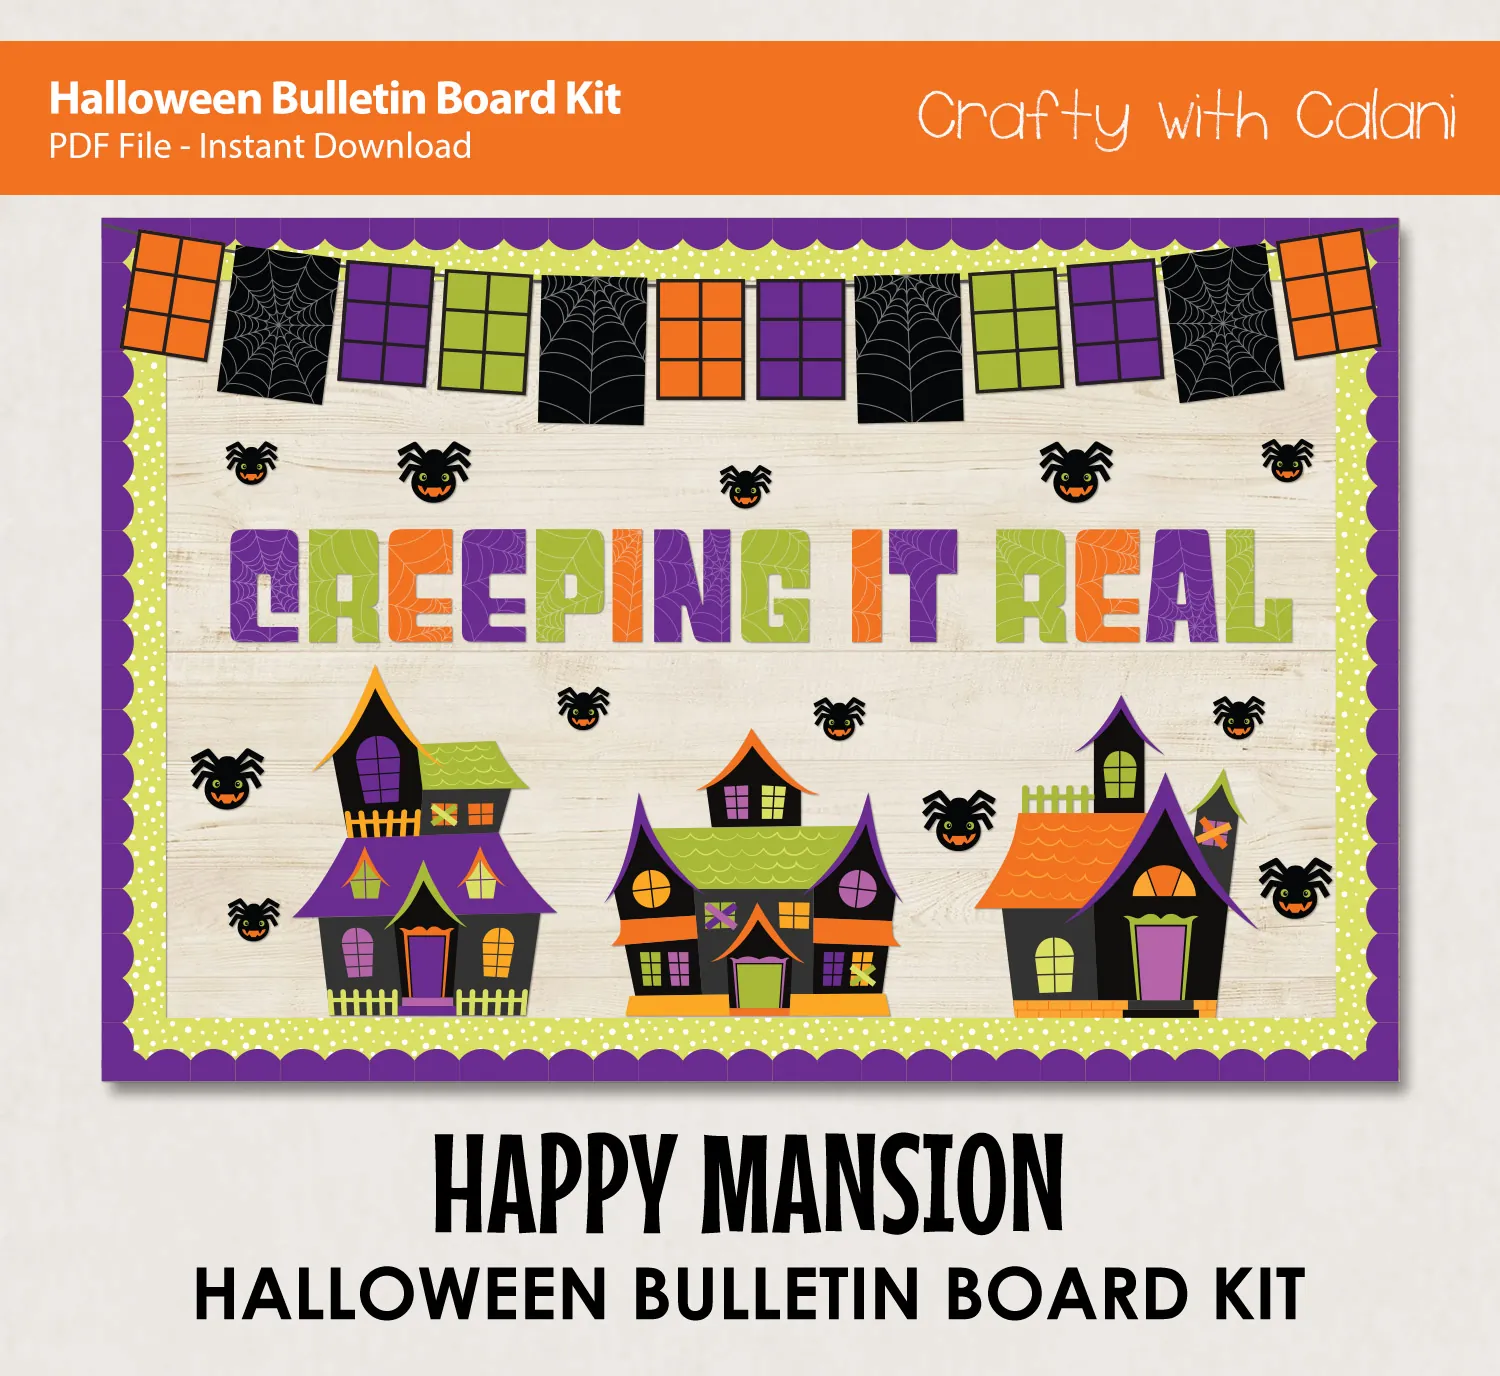
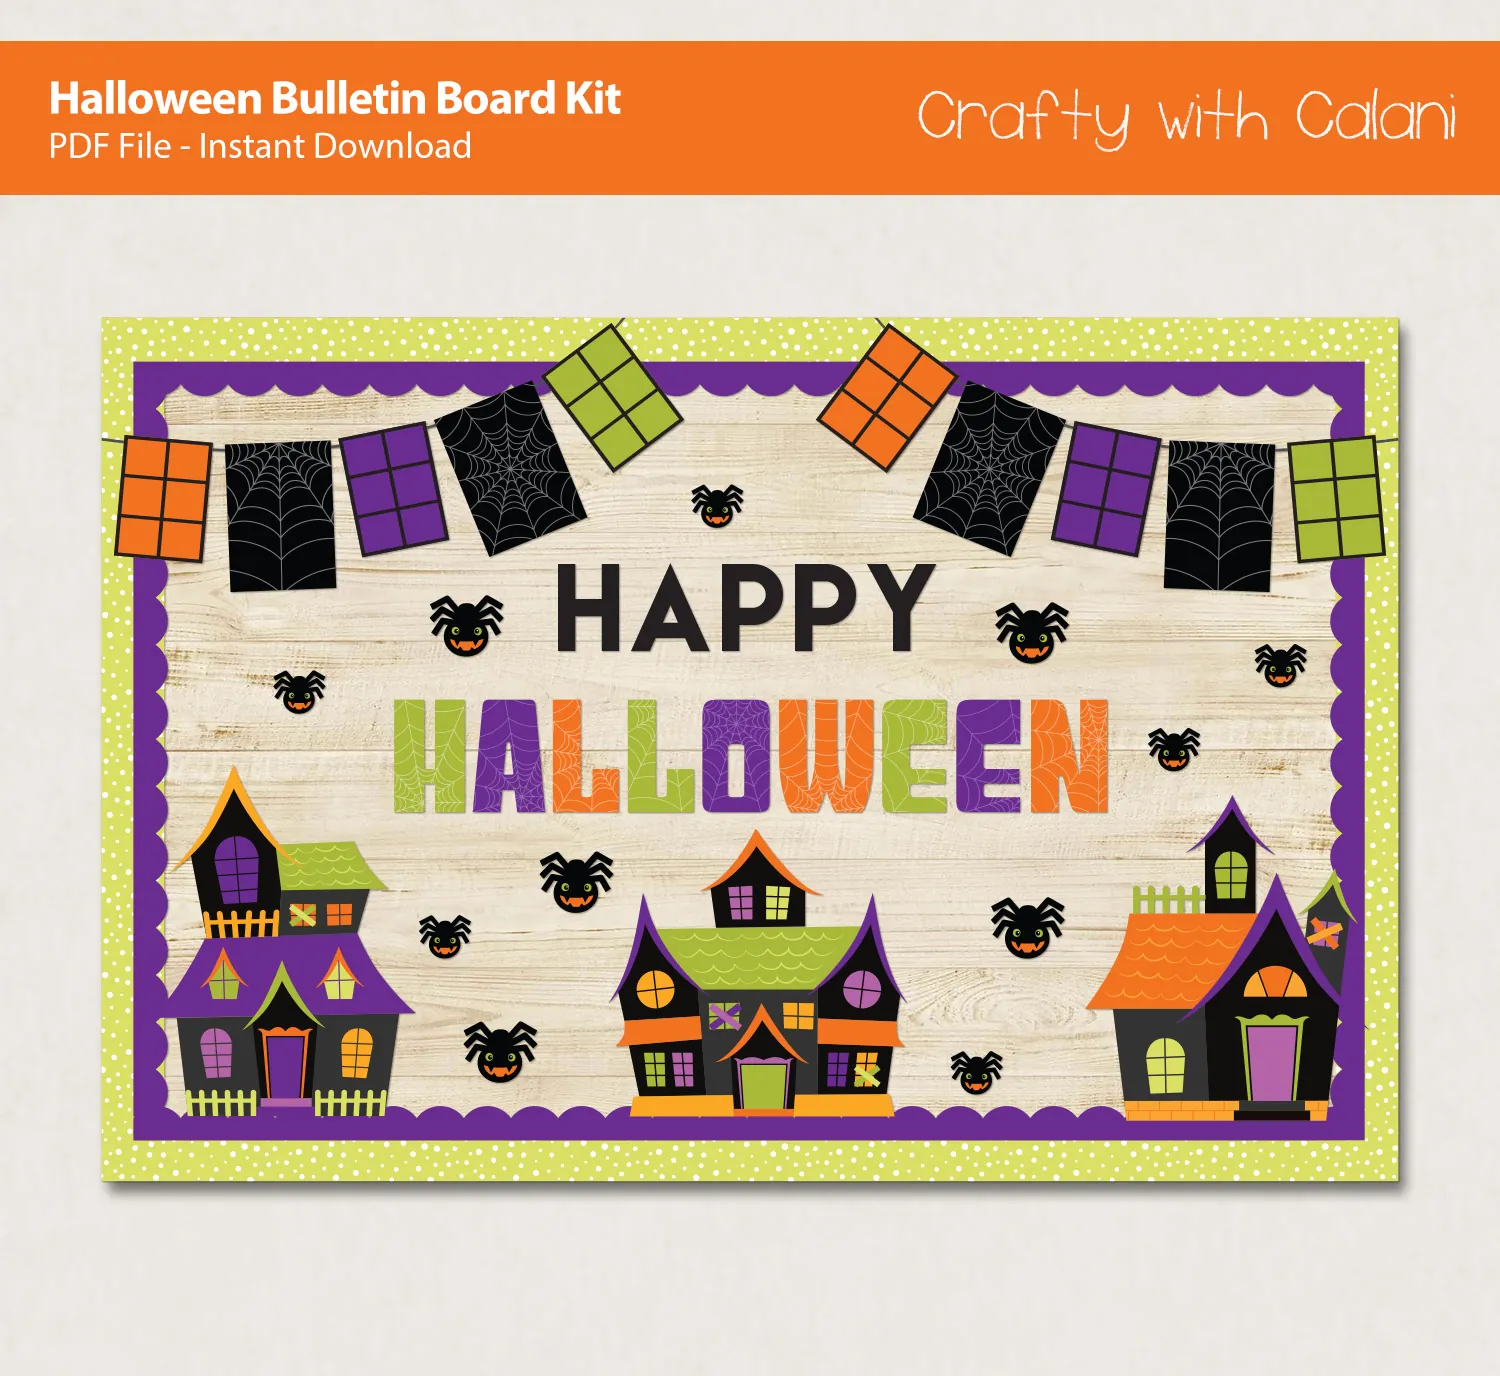
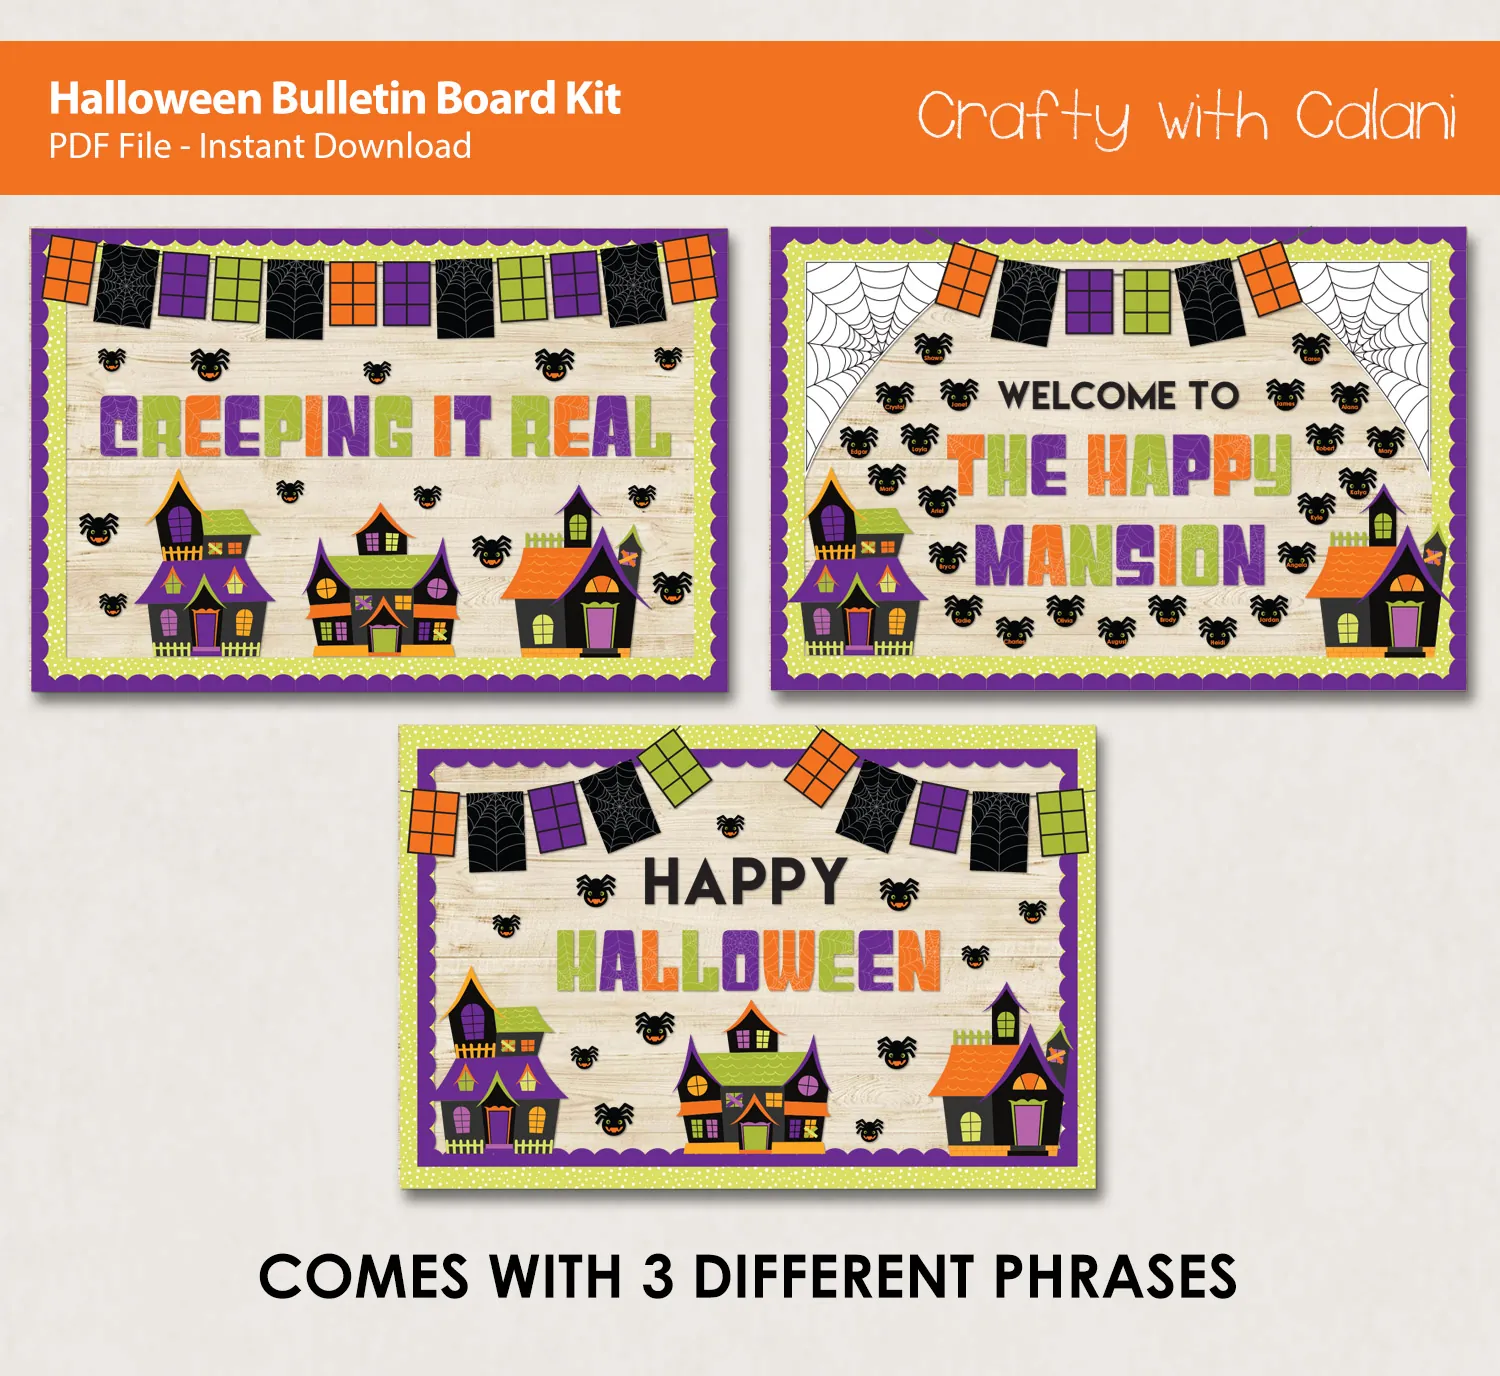
Looking to add some spooky flair to your classroom this Halloween? Our Bulletin Board: Haunted Mansion Halloween Classroom Theme is just the thing you need to create a hauntingly awesome Halloween display. With its charming and colorful mansion design, this board will add to the festive atmosphere of your classroom, and at the same time show off your creativity and love for the holiday.
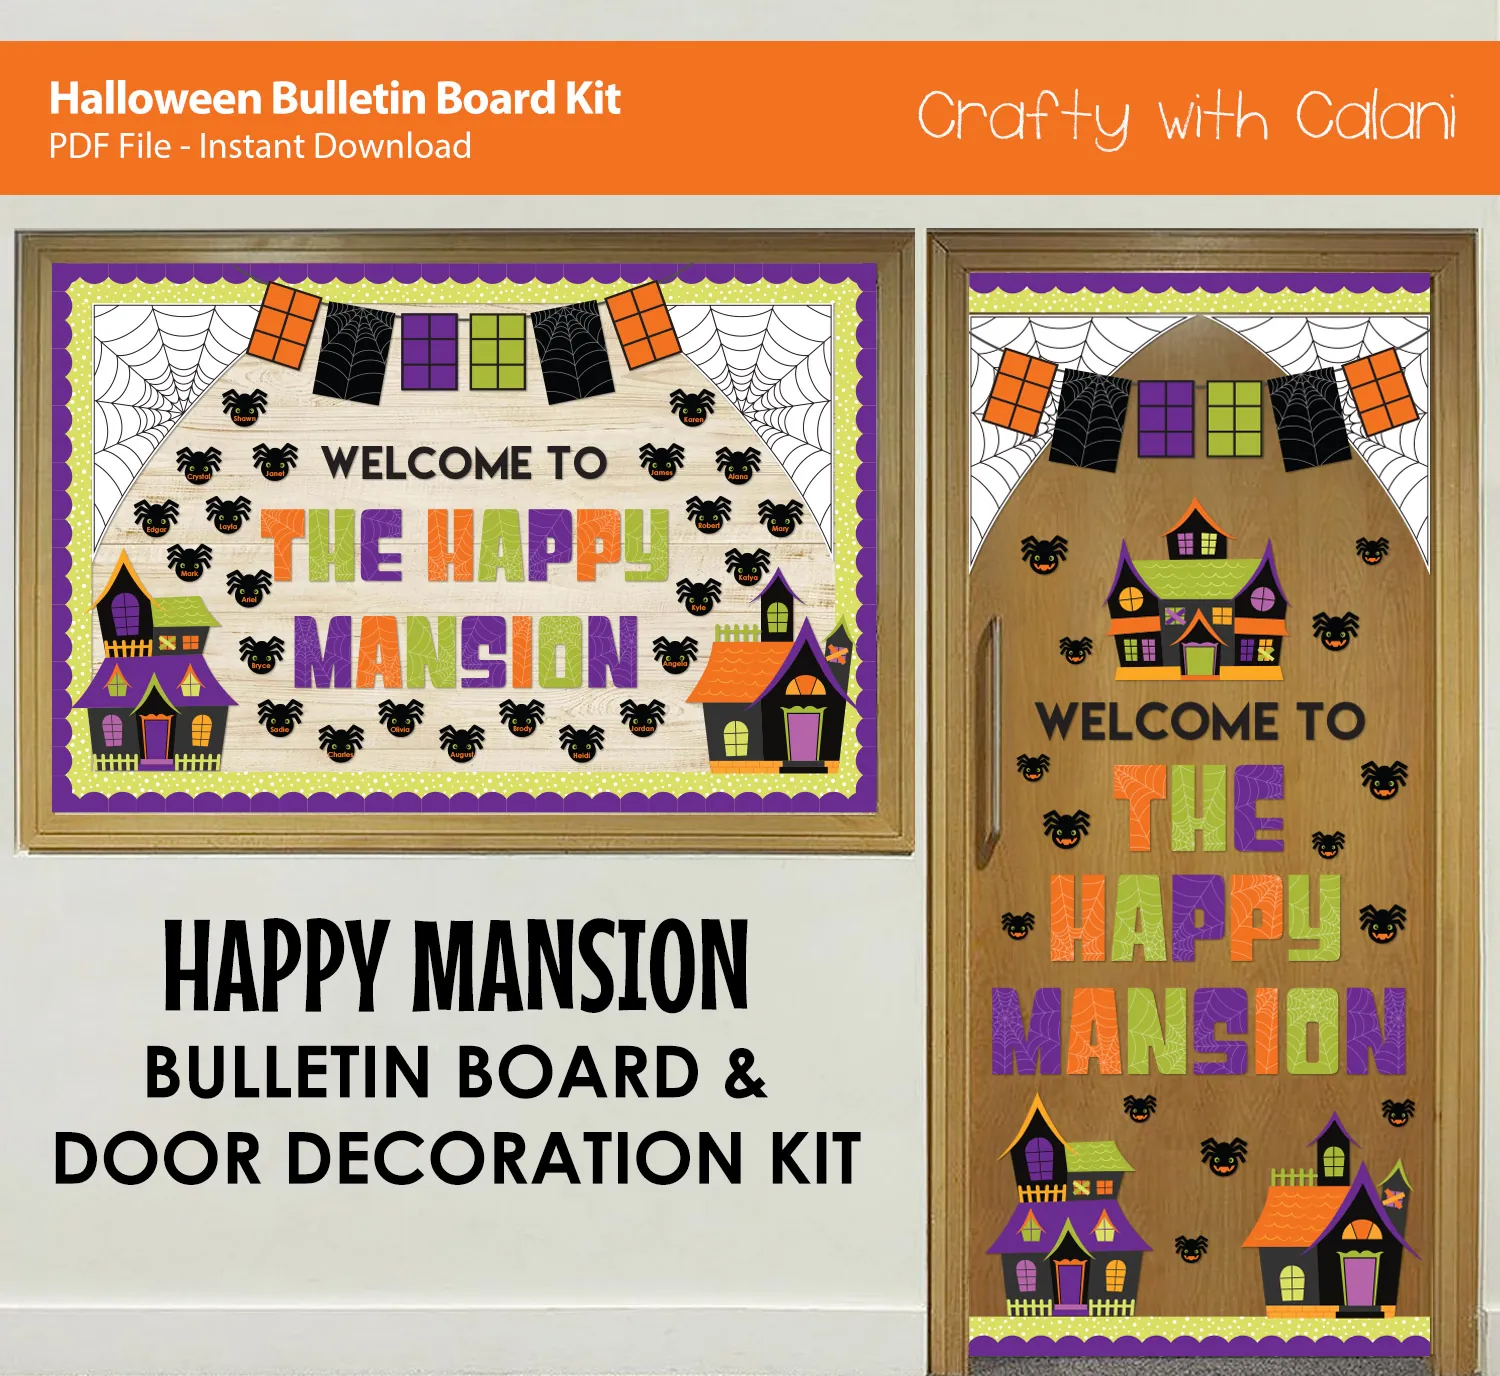
Take it one step further and use this kit to decorate your classroom door with Haunted Mansion theme. Our bulletin board kit will help you create a Halloween-themed door decoration that your students and other teachers will admire.
This Haunted Mansion Halloween bulletin board kit provides printable artwork and editable cards for a festive display; supply paper, printing and attachment materials separately. Simply print out the kit, cut out the pieces, and assemble them. With just these simple steps, you can transform your classroom into a spooky and festive space that your students will love. Transforming your classroom into a spooky Halloween wonderland has never been easier. Let your creativity shine and have fun bringing this fun and exciting Halloween project to life!
Here's What's Included:
Images & Letters: These print perfectly on standard 8.5x11 inch sheets. If you've seen the words showcased in the images, you'll be pleased to know each letter can be printed individually on these sheets.
Border Design: A lovely border to frame your content.
Customizable Features: There's an option to add your students' names and even their photos, making it more personalized.
Printing Guidelines: While it's crafted to ideally fit a 4 x 6 feet bulletin board, the end display size can vary. It depends on the spacing between letters and elements, as well as the image size you opt for.
A Little Heads-up: Screen resolutions can make colors appear slightly different.
File Types Available:
PDF: Ideal for manual cutting.
JPEG: Suitable for cutting machines.
PPTX: For those editable cards.
Please note:
• The recommended software is ADOBE ACROBAT READER.
You can get it for free https://get.adobe.com/reader/
• The recommended software for editing the card’s text is MICROSOFT POWERPOINT.
• For those who want to use a cutting machine, a basic knowledge of how to use the jpeg file is compulsory. I CANNOT provide any tutorials for this.
Related resources
More resources teachers may find useful
24 related resources were found using this product's title, contributor, categories and tags.
In the classroom
Teaching tips & learning objectives

Teaching tips
Set the layout with push pins or washi tape before committing - the tips page recommends moving the pieces around first and only stapling once the arrangement looks right
Thicker paper such as white cardstock is recommended for the pieces, and laminating them keeps the same set usable for a second Halloween
The kit is scaled for a 4 x 6 foot board; for a classroom door, use the multiple-pages-per-sheet tutorial to print smaller pieces, and preview the layout before printing
Good to know
Questions teachers ask about this resource
How do student names and photos get onto the display?
Through the PowerPoint card file. The first slide has six NAME HERE text cards; the second has six photo placeholders. The overview names Microsoft PowerPoint or Apple Keynote as the software for that file; the scene images and letters are fixed artwork.
How big does the finished display end up?
About 4 x 6 feet, which the overview calls an estimate - the real size depends on how much space is left between letters, which image sizes are chosen, and the spacing between elements. One tutorial uses Poster and Tile Scale; the other prints multiple pages on one sheet to make smaller pieces.

No reviews yet
Downloaded this resource? Tell other teachers how it went.
Resource details
Topics covered
 Topics
Explore more
Categories this resource belongs to
Explore related searches
More to explore
You may also like