


How to Draw 3D Shapes – One-Point Perspective
- Grades
- Grades 5–10, Middle School, High School
- Pages
- 3
- File type
- Preparation
- Print ready


- Subject
- Creative Arts, Art
- Topic
- 3D Shapes, drawing
- Resource types
- Drawing Templates & Outlines, Worksheets & Printables
- Preparation
- Print ready
About this resource
What's inside this resource
Product description
From the author
Students enjoy creating art that has an element of realism. Converting 2D shapes into what seems like 3D forms achieves precisely that.
Use this resource to help teach the basics of one point perspective.
Great for art students or anyone wanting to practice drawing skills.
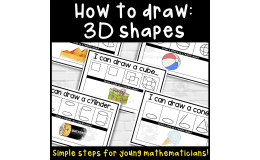
This Handout with instructions show you how to draw 3D shapes using one point linear perspective.
Step into the world of artistry and spatial mastery with our digital guide titled "How to Draw 3D Shapes Using One Point Perspective." This comprehensive digital product serves as a virtual mentor, guiding enthusiasts and aspiring artists through an immersive journey of creating depth and dimension in their artwork.
Within this digital treasure trove, discover a meticulously crafted tutorial that unveils the secrets of translating two-dimensional surfaces into captivating three-dimensional illusions. With clear, easy-to-follow instructions and illustrative examples, this guide empowers users to wield the principles of one-point perspective drawing like seasoned artists.
Engage in an interactive learning experience as you uncover the foundational techniques behind the creation of lifelike forms. Through detailed tutorials and practical exercises, learn to masterfully manipulate lines and angles, harnessing the power of a single vanishing point to breathe life into your drawings.
Designed for both beginners seeking a solid introduction and seasoned artists aiming to refine their skills, this digital product offers a versatile learning experience.
Unlock the potential of your artistic expression with this digital guide, expertly curated to provide a comprehensive roadmap to drawing 3D shapes using the simplicity and elegance of one-point perspective.
Elevate your artistry, ignite your creativity, and embark on a transformative artistic journey—all within the digital confines of this enriching, educational experience.
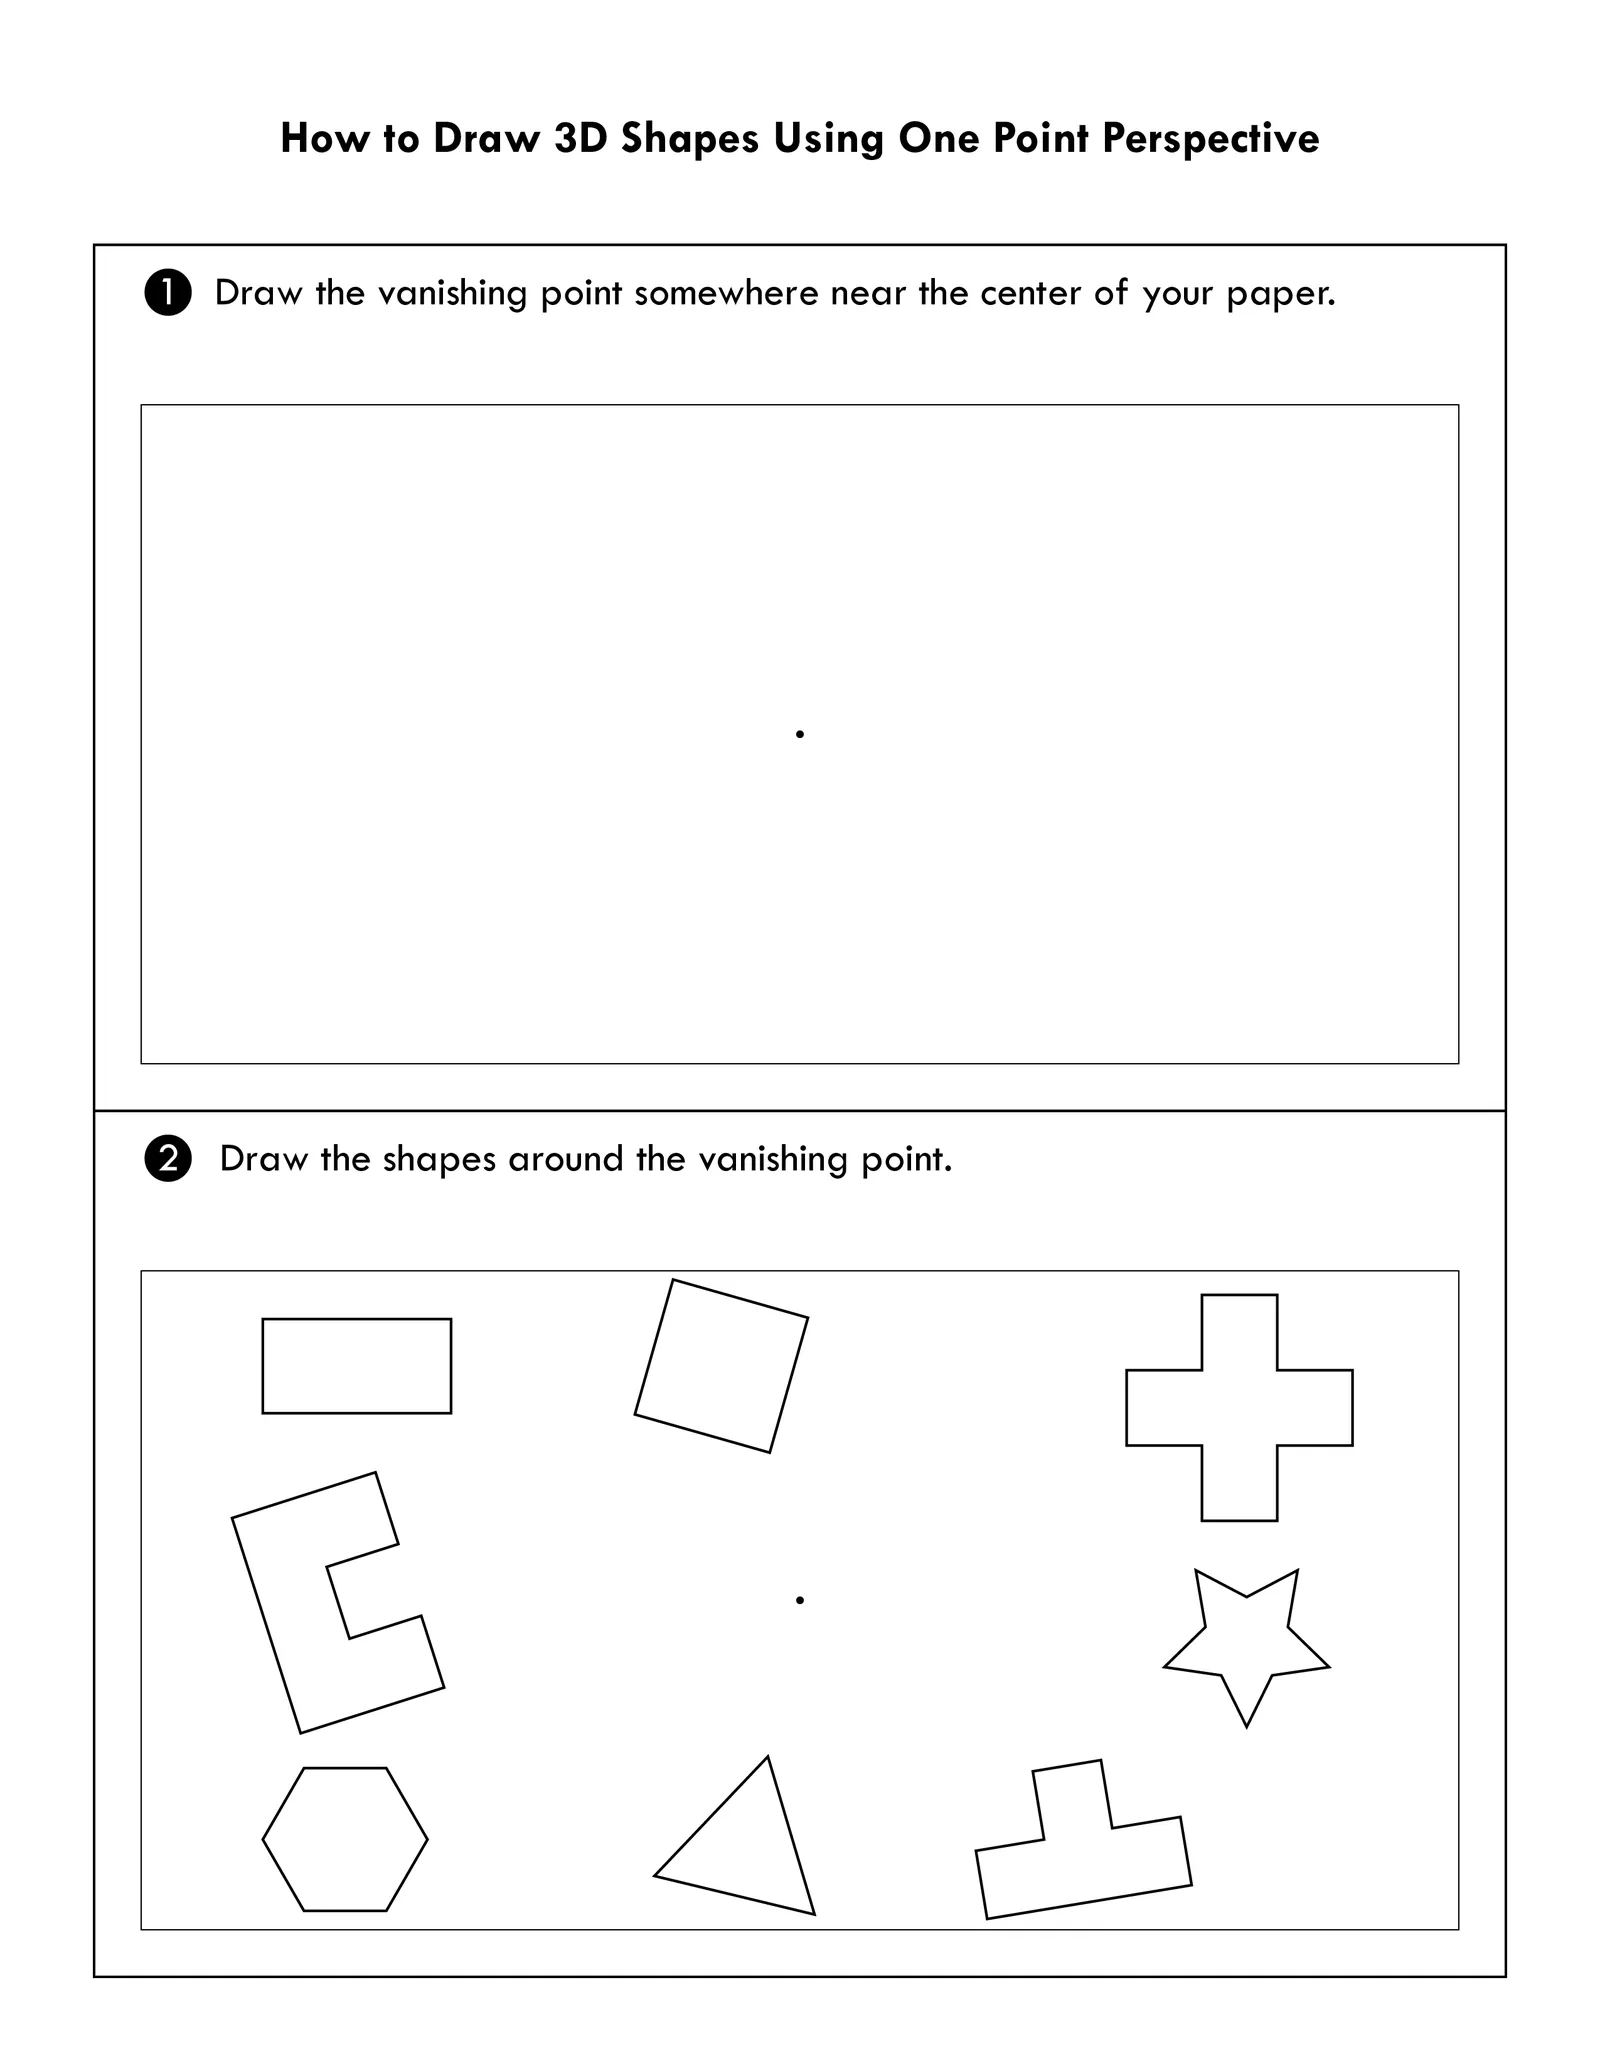
1 Draw the vanishing point somewhere near the center of your paper.
2 Draw the shapes around the vanishing point.
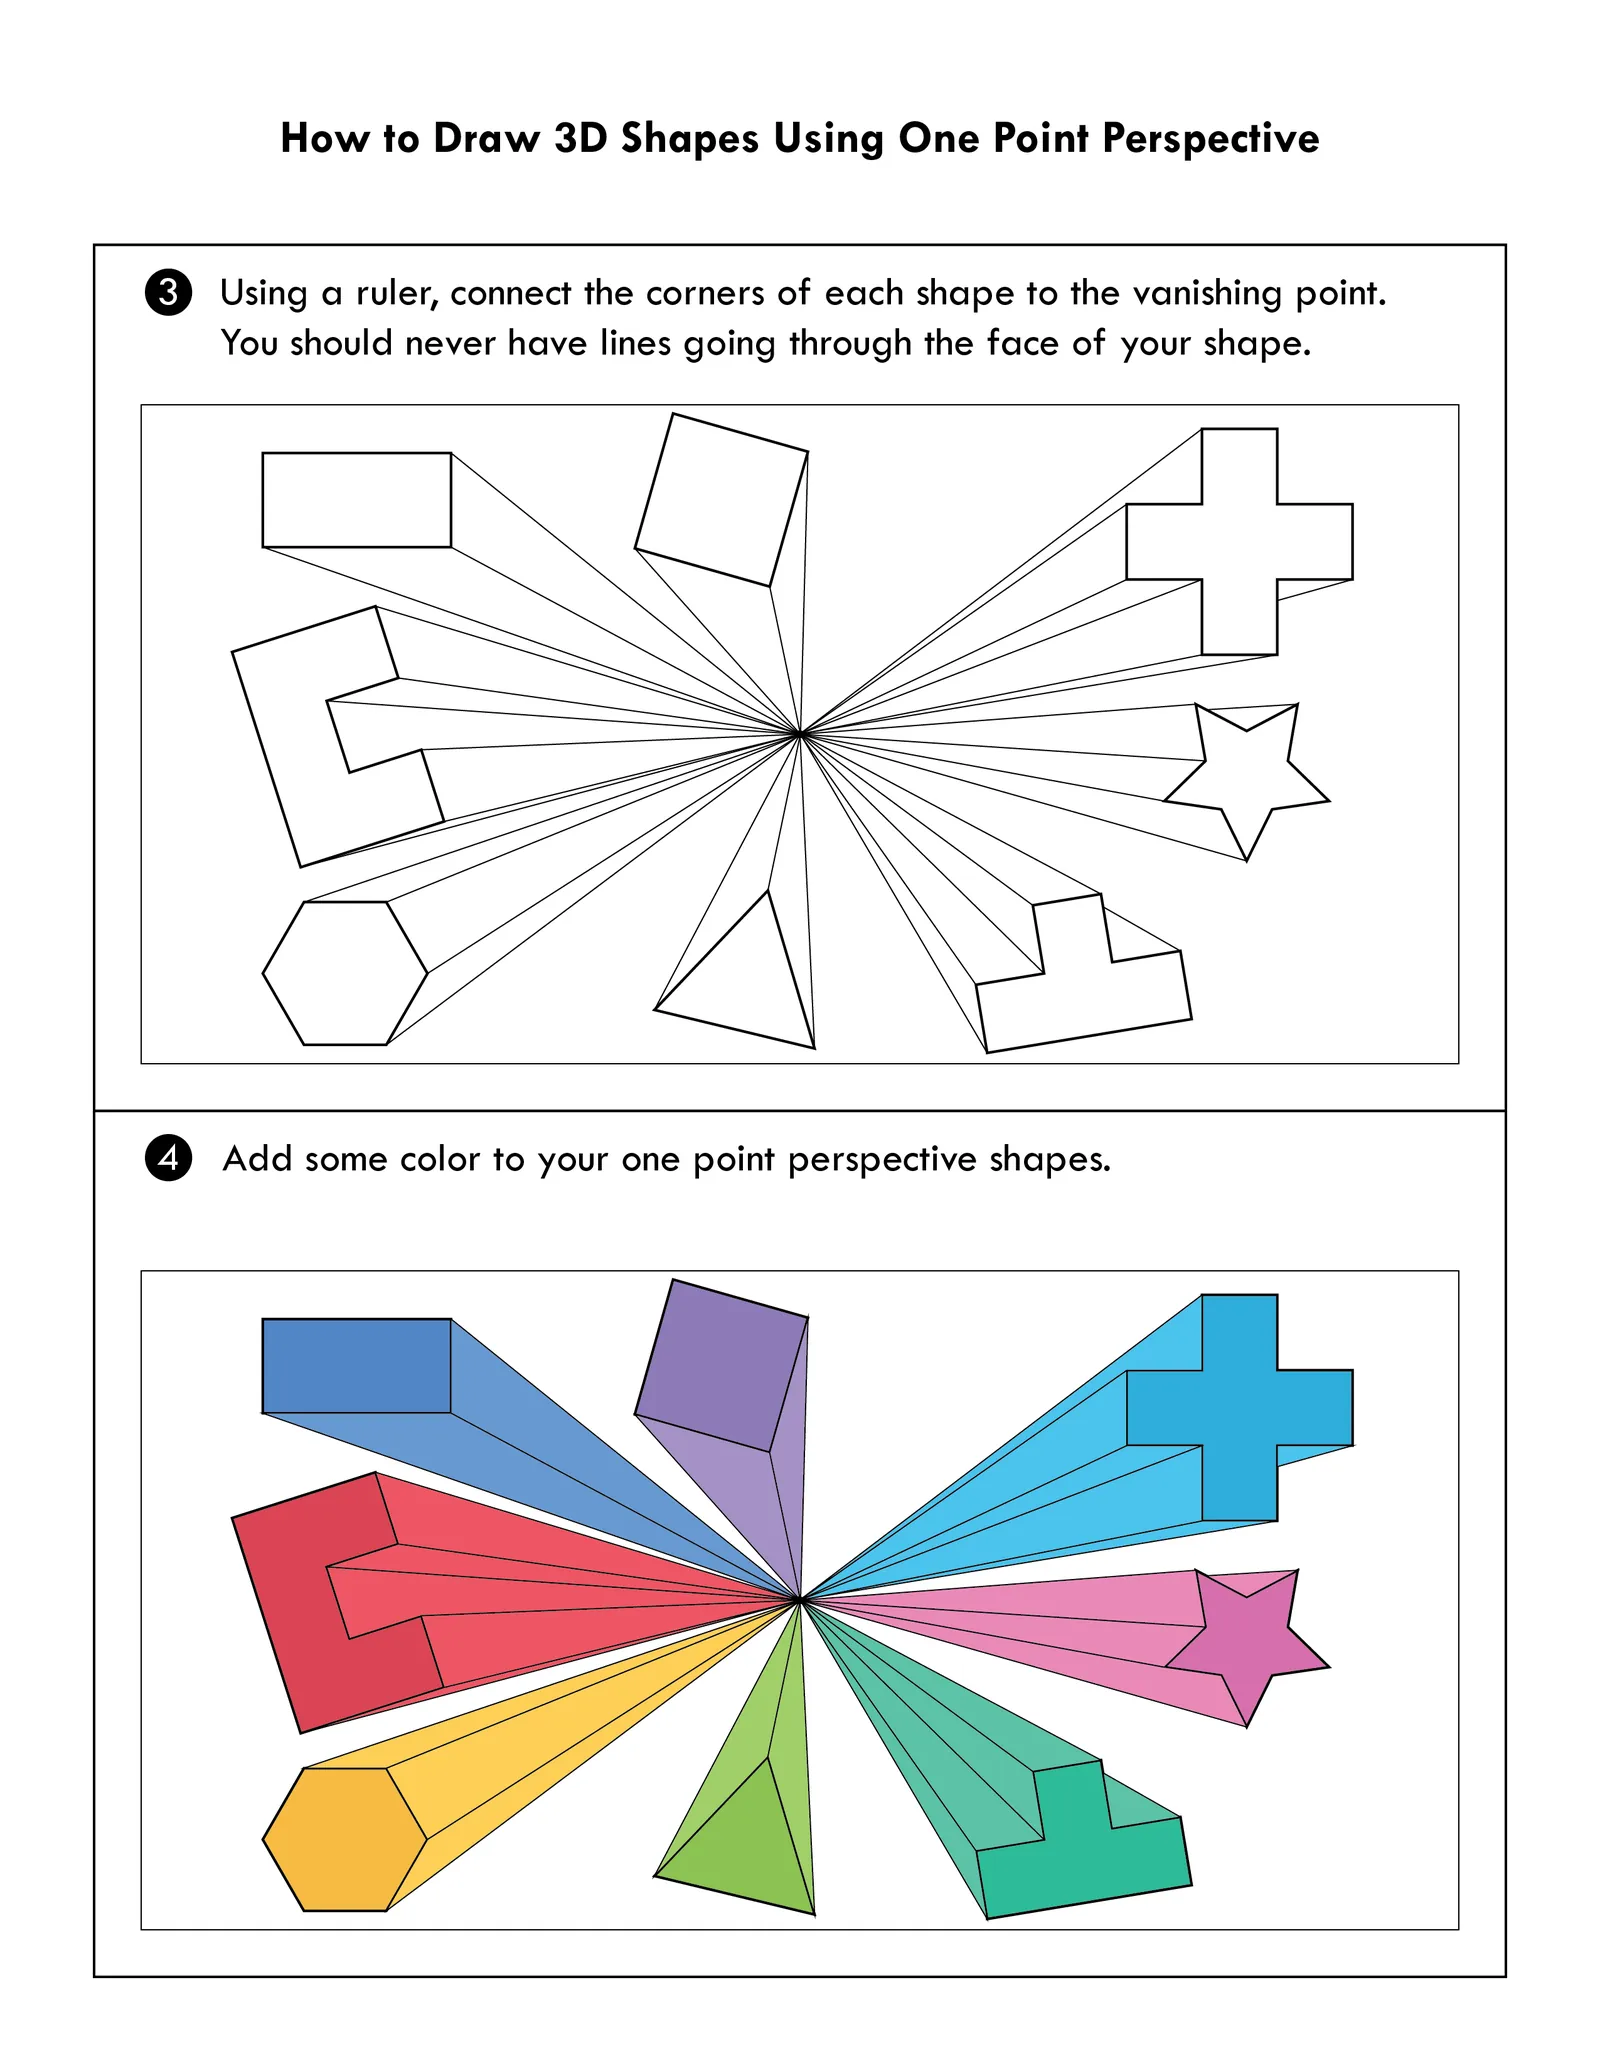
3 Using a ruler, Connect the corners of each shape to the vanishing point. You should never have lines going through the face of your shape.
4 Add some color to your one point perspective shapes.
Related resources
More resources teachers may find useful
22 related resources were found using this product's title, contributor, categories and tags.


In the classroom
Teaching tips & learning objectives

Learning objectives
Locate a vanishing point and use it to convert flat shapes into three-dimensional-looking forms
Use a ruler to connect each shape's corners to the vanishing point without crossing the shape's face
Apply the one-point perspective technique to a template of shapes and finish the forms with color

Teaching tips
Demonstrate the four steps on the board with one shape before students start their own template, since the ruler-line step is where mistakes happen
Make sure every student has a ruler on hand — step 3 specifically calls for one to connect the shape corners to the vanishing point
Remind students that a line should never cross through the face of a shape, a caution stated directly in step 3

Skills covered
One-point perspective drawing — students locate a single vanishing point and use it to convert flat shapes into three-dimensional-looking forms.
Ruler-guided line construction — students connect each shape's corners precisely to the vanishing point using a ruler.
Finishing/coloring for depth — students add color to the completed perspective shapes as the final step.

No reviews yet
Downloaded this resource? Tell other teachers how it went.
Resource details
Concepts & topics
 Core concepts
 Topics
Explore related searches
More to explore
You may also like