


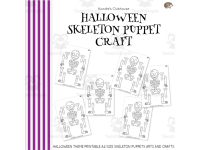
Halloween Skeleton Puppet Crafts

- Grades
- K–2
- Pages
- 9
- File type
- Preparation
- Print ready


- Subject
- Creative Arts, Art, Halloween
- Topic
- Skeleton craft, Movable puppet
- Resource types
- Crafts
- Preparation
- Print ready
Product description
From the author
Product Description
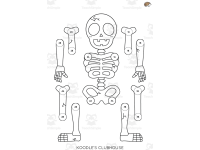
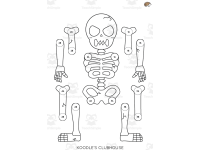
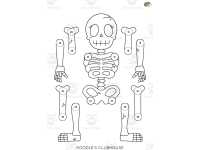
Make a moving skeleton puppet with these Halloween templates and split pins. It’s easy to make in only a few steps and is a great activity for Halloween. The activity provides practice in creative expression, hand-eye coordination, focus and patience. It’s also good as a quiet activity for children who finish their work early.
Directions for use:
To prepare the template for use, print the sheets on to sturdy card paper that is compatible with your printer. Make many copies for large groups of children or lessons. For small children cut the templates and punch tiny holes on the circle before passing out the skeleton set.
Uses for product
Halloween Theme
Arts and Crafts
Art lessons
Activity & Games
Art centers
Printable
Arts and craft template
Decoration
Fun puppet or reading buddy
Related resources
More resources teachers may find useful
24 related resources were found using this product's title, contributor, categories and tags.


In the classroom
Teaching tips & learning objectives

Learning objectives
Assemble a jointed paper figure by matching labelled connection points and pushing a split pin through each pair
Use scissors to cut printed shapes away from a template sheet along their outlines
Choose and colour one template as a personal design decision so each finished puppet differs from the next

Teaching tips
Print onto sturdy card that the printer can take — the sheets are sized A4 and the directions ask for card rather than copy paper so the joints hold once the pins are in.
Count out four split pins per skeleton before the lesson starts, since each puppet needs exactly four to make all the labelled joints.
The directions suggest the craft as a quiet task for children who finish other work early, and the finished puppets double as classroom decoration or a reading buddy.

Skills covered
Cutting printed shapes
Matching labeled joint points
Assembling moving limbs with split pins
Good to know
Questions teachers ask about this resource
What holds the puppet's arms and legs on?
Four split pins per skeleton. Every template marks the joints in matched pairs — 1A to 1B, 2A to 2B, 3A to 3B and 4A to 4B — so a pin through each pair sets the limbs at the shoulders and hips and lets them swing.
What preparation do the templates need before a young class can use them?
Print them onto sturdy card stock the printer can handle and copy enough for the group. For small children the directions ask that the templates be cut out and the tiny holes punched on the marked circles before the sets are handed out, leaving the children to colour and pin.
What can the finished puppets be used for once the craft is over?
The directions page lists classroom decoration, art-centre work and use as a fun puppet or reading buddy, and suggests the craft itself as a quiet task for children who finish their other work early.

No reviews yet
Downloaded this resource? Tell other teachers how it went.
Resource details
Concepts & topics
Core concepts
 Core concepts
Halloween craft
Split-pin jointed puppet
Fine motor practice
 Topics
Explore more
Categories this resource belongs to
Explore related searches
More to explore
You may also like